Introduction or why I wrote a survival guide
As a lifelong Linux user I started a job in a company where I had to use a Windows laptop. My job is to create a React frontend. Not knowing Windows I wondered about the best way to do my development work.
2 Routes
During my research I discovered two ways for emulating a Linux/macOS like workflow in Windows.
The first way creates a minimal bash environment to emulate a Linux command line. You will run Windows alternatives of your development tools.
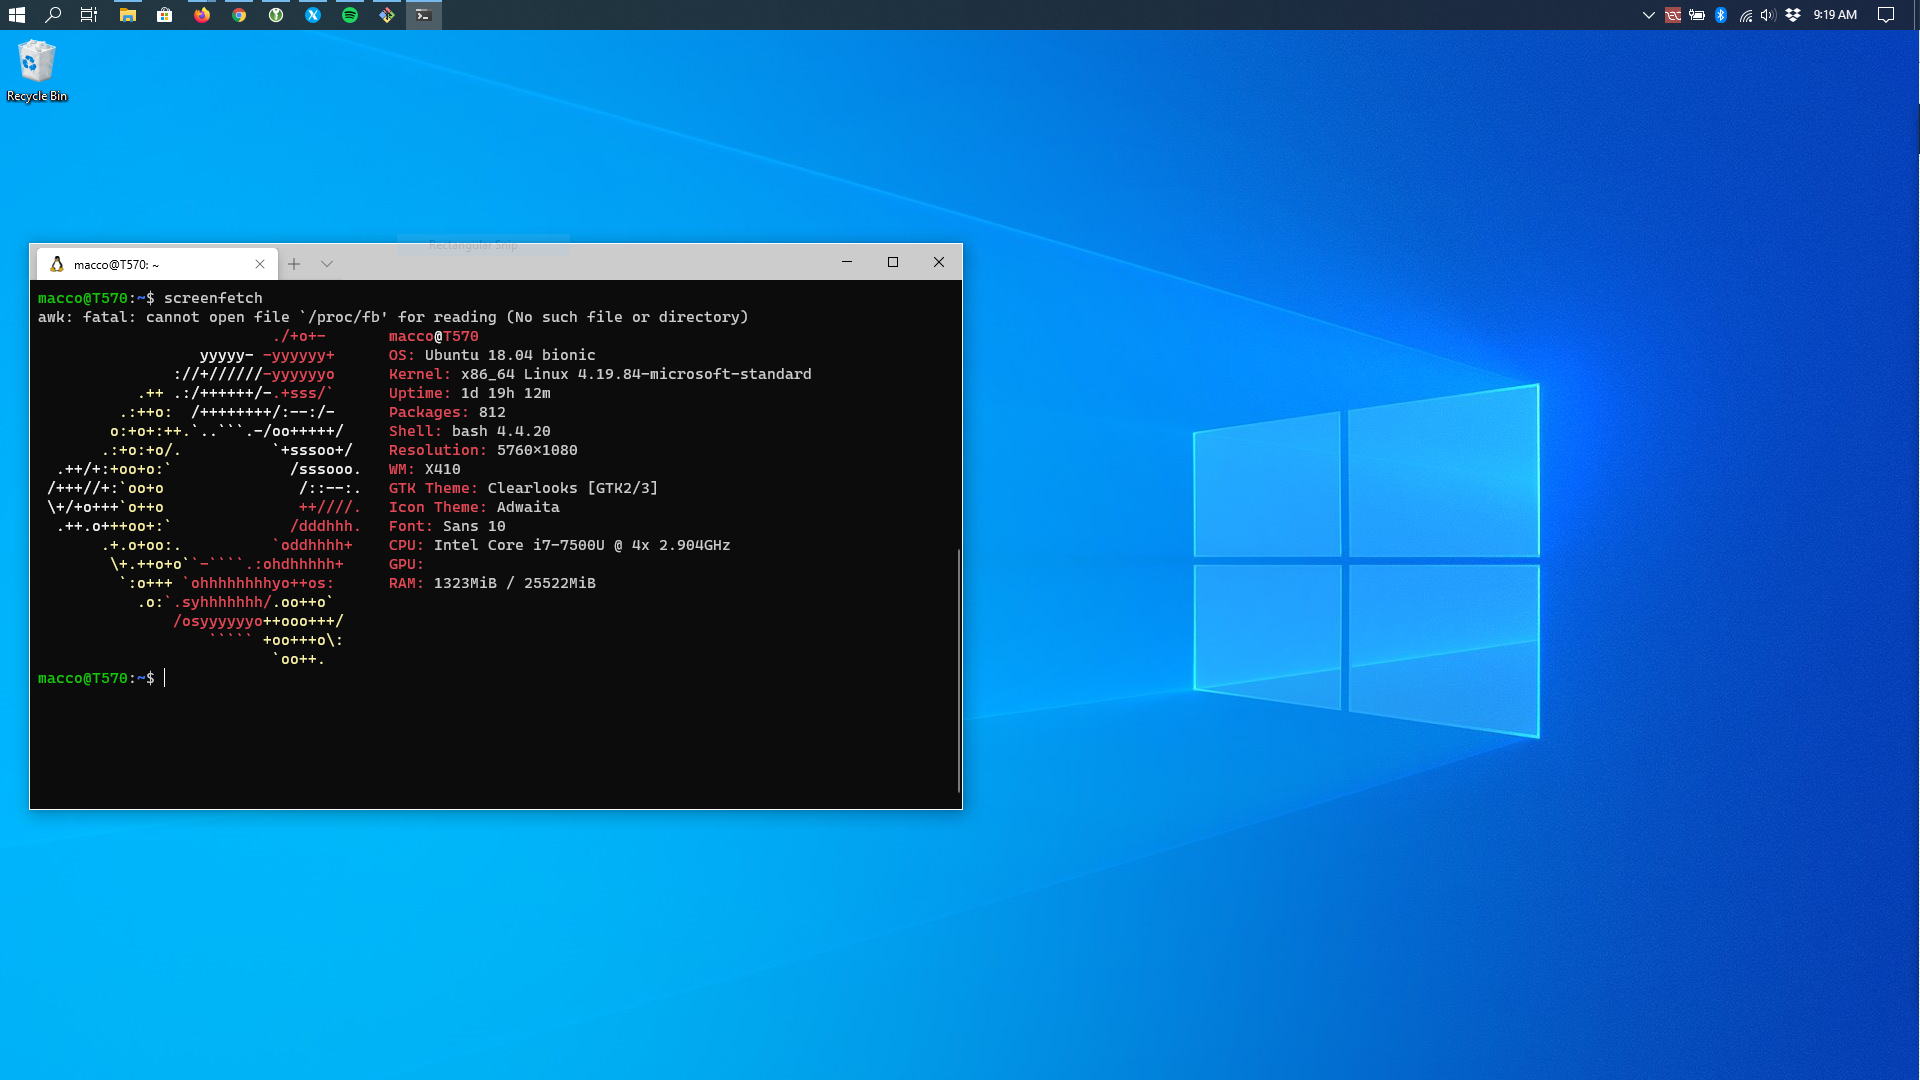
The second route uses the Windows Subsystem for Linux 2 (or short WSL 2) to create a Linux environment inside your Windows system. This way you can use all your Linux tools like in your Linux distro. On the downside it uses more system resources and needs more work to set up.
Which route to choose?
If you have admin rights to your Windows machine and prefer Linux over Windows I would recommend going with WSL.
Fast Route
Pros:
- easy to setup
- doesn’t need admin right
- uses fewer resources
Cons:
- it doesn’t have to full power of a Linux distribution
- your dev-environment will probably differ from your prod-environment
- IO-operations with Yarn/NPM are slower
The fast route works fine for developers who want to get started quickly or don’t have admin rights on their development machine. It will imitate a Linux or Mac dev-environment with a package manager for Windows called Scoop.
The apps we install later are selected because they work without admin rights. For that reason I opted to install Node.js directly instead of using nvm-windows which needs admin rights to set the default node version.
To start, open a PowerShell and install scoop first. Paste the following lines in your PowerShell:
set-ExecutionPolicy RemoteSigned -Scope currentUser
Invoke-Expression (New-Object System.Net.WebClient).DownloadString('https://get.scoop.sh')
 # If you get an error 'https is not supported try typing it by hand. Windows screws up URLs.
scoop help
 # for usage information
scoop search # this will show all available packages
scoop search git # this will show all available packages with git in their name
Now that we installed scoop, we can install our dev-environment:
scoop install git
scoop install nodejs-lts
scoop install yarn
Now it’s time to test our dev-environment. Assuming you come from a Bash background, it makes sense you are using Git Bash now, which was installed with git automatically. Open up Git Bash and create a React app:
git install https://github.com/GermaVinsmoke/bmi-calculator.git # If you get an error 'https is not supported try typing it by hand. Windows screws up URLs.
cd bmi-calculator.git
yarn # this will take some time
yarn start # this should start your default browser on http://localhost:3000
Bonus: Installing an editor
Assuming that you don’t want to use notepad or vim for your development. It makes sense to install a different editor. Therefore we need to add another repository (called bucket) to scoop, then we can install most editors available (Atom, VScode, Notepad++).
For fans of Jetbrains products there is an additional bucket called jetbrains.
scoop bucket add extra
scoop install vscode # or notepadplusplus or atom
If you are using Git Bash it makes sense to restart it, because otherwise the editor will not available in your path. Other than that you are now good to go.
Rockstar Route
Pros:
- dev-environment is the same as the prod-environment
- has access to all Linux tools
- very fast IO with NPM
- can even run Linux GUI programs
Cons:
- uses more system resources
- needs more work to set up
Check if you have the right windows version
If you want to install WSL 2 you need Windows build 18917 or higher. You can check your Windows version with the shortcut Win+R and enter winver in the entry field. If you don’t have a suitable build you need to join the Windows Insider Programm in your Settings. I recommend the Slow track, where you get updates about once a week.
Install WSL2
First, we need to enable the Windows Subsystem for Linux and enable the Virtual Machine Platform.
Open a PowerShell as administrator:
Enable-WindowsOptionalFeature -Online -FeatureName Microsoft-Windows-Subsystem-Linux # is this really needed
dism.exe /online /enable-feature /featurename:Microsoft-Windows-Subsystem-Linux /all /norestart
dism.exe /online /enable-feature /featurename:VirtualMachinePlatform /all /norestart
Restart your system.
Install a Linux Distribution (Assumes that you install Ubuntu)
First set WSL 2 as default. In a PowerShell enter:
wsl --set-default-version 2
After that, go to the Microsoft Store and search for the Linux distro you like. I will assume you chose Ubuntu.
Open the Ubuntu from the Start menu and create a new user. The full installation of Ubuntu will need a view minutes.
When the installation has finished, update the packages.
sudo apt update && sudo apt upgrade
Now you have a fully functional Ubuntu at your fingertips. And can install your development tools analog to our solution above.
By the way, if you want to open your current Ubuntu directory in Windows just type:
explorer.exe .
An Explorer window will open on your screen.
Install VSCode on Windows
To develop comfortably on Windows you should install VSCode on Windows. I personally had problems with the Scoop version. So install the version from their website.
Similar to the file explorer you can then open Ubuntu directories with
code .
Install NodeJS and Yarn on Ubuntu
Open up an Ubuntu window and enter the following code to install Yarn
curl -sS https://dl.yarnpkg.com/debian/pubkey.gpg | sudo apt-key add -
echo "deb https://dl.yarnpkg.com/debian/ stable main" | sudo tee /etc/apt/sources.list.d/yarn.list
sudo apt update && sudo apt install yarn
Then install NodeJS with Node Version Manager.
wget -qO- https://raw.githubusercontent.com/nvm-sh/nvm/v0.35.3/install.sh | bash
source ~/.bashrc
nvm install --lts
Use Linux tools to develop
Now you should be able to use the development tools you need. To test your new environment try
npx create-react-app my-app
cd my-app
yarn start
A browser tab should open and you are able to start developing.
Which way to develop do you prefer? Let me know if you are interested running Linux GUI programs with WSL 2.